

How to Get Your Navimow Robotic Mower Ready for Winter
As the mowing season winds down and winter approaches, it’s time to give your Navimow robotic mower the care it needs for a safe and trouble-free rest. Proper winter storage not only protects your mower’s battery and mechanical systems but also ensures a smooth startup come spring. Here’s a simple guide to help you prepare your Navimow for the off-season.
Tools You’ll Need
- Allen wrench (for removing charging station screws)
- Soft brush or damp cloth (for cleaning)
- Protective gloves (for handling the mowing system)
- Original packaging or secure storage container
- Marking tools (screws, flags, or similar)
- Protective film or plastic bags (for connectors if stored outside)
How Long Will It Take?
Plan on setting aside 30 to 45 minutes for the full winterization process. If it’s your first time, it might take a bit longer, especially if you’re being cautious with cleaning or marking component locations.
Step 1: Prep Before Storage
Turn Off Mowing Schedules
Begin by disabling all mowing schedules in your Navimow app. Head to Settings > Work Settings > Mowing Schedule and turn off any active tasks. This prevents the mower from trying to operate unexpectedly.
Charge the Battery
Make sure the battery is charged to at least 85%. A well-charged battery holds up better in cold weather and extends overall battery life.
Step 2: Remove and Store Key Components
Power Down Safely
Unplug the charging station and turn off your mower by pressing and holding the OK button for four seconds.
Mark the Charging Station Location
To avoid re-mapping in the spring, mark the position of your charging station before removing it. You can use the original mounting screws or similar markers to indicate exact placement.
Remove the GNSS Antenna
Detach the GNSS antenna from its mount but leave the mounting hardware in place. This makes reinstallation easier and maintains alignment.
Use Proper Tools
Use an Allen wrench to remove the four screws that secure the charging station. Keep all parts together for easy reassembly.
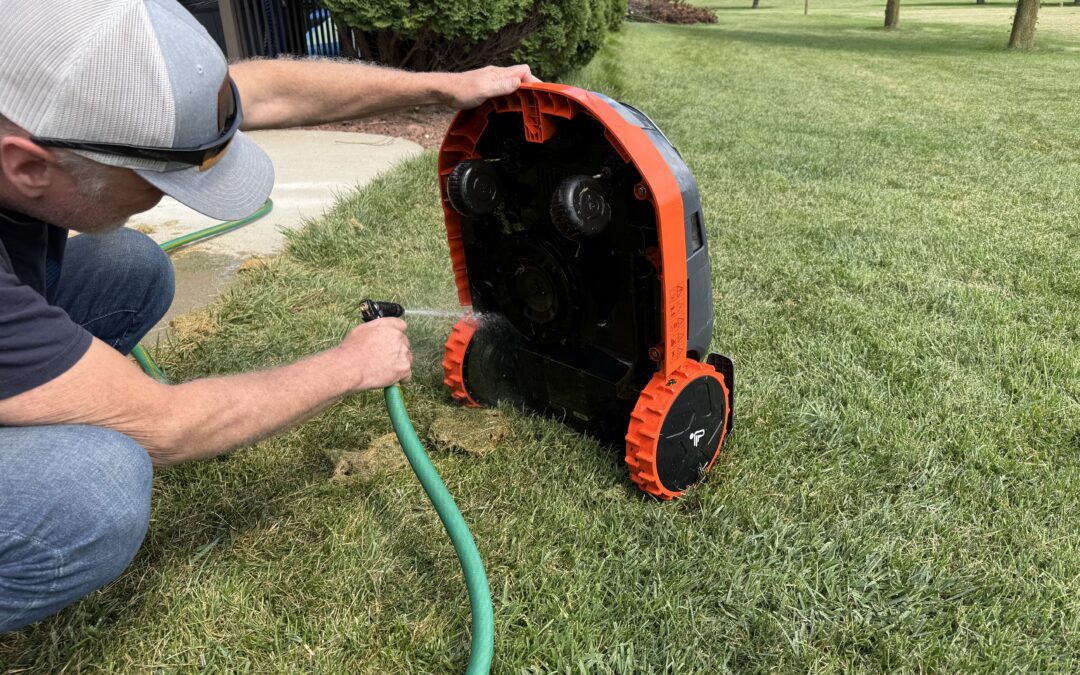
Step 3: Clean and Store the Mower
Clean the Exterior
Wipe down the mower’s exterior with a damp cloth or soft brush. Be sure to clean around the mowing system carefully. Always wear protective gloves when working near blades.
Store in a Dry, Frost-Free Location
Pack the mower, charging station, GNSS antenna, and all related accessories into their original packaging or a secure storage container. Keep everything in a dry area away from freezing temperatures.
Periodic Charging
Every 120 days during storage, recharge the mower to maintain the battery at 85% or higher.
Protect Exposed Connectors
Any exposed connectors should be stored indoors if possible. If they must remain outside, cover them with protective film or plastic to prevent moisture buildup. Elevate components slightly off the ground to avoid snow and water accumulation.
Step 4: Spring Startup Tips
Reinstall the Antenna and Charging Station
Place the antenna back on its mount. Use your markers to realign the charging station in the exact spot it was before.
Wake the Mower
Place the mower just outside the charging station and power it on. When the light turns blue, press the HOME button followed by OK. The mower will return to the station and begin charging.
Check for Errors
If the mower can’t charge or you see error code 6004, your setup may be misaligned. You may need to delete the old map and create a new one.
Run a Test Mow
Once the mower charges successfully, press MOW to run a test. If it mows without errors, everything is good to go.
Update the Firmware
Before starting the season, check for firmware updates. Your mower should be in the charging station, connected to Wi-Fi or 4G, with at least 20% battery, and no mowing scheduled for the next hour. Always use the latest firmware for improved performance and new features.
Adjust for Satellite Changes
If satellite reception has changed over winter or you notice issues at the lawn’s edge, update your map settings accordingly.
Following these steps will keep your Navimow robotic mower in top shape through winter and ensure it’s ready to tackle your lawn as soon as spring arrives. If you need help with storage, firmware updates, or reinstallation, contact us anytime. Ballard Power Works is your local Navimow experts serving southern Wisconsin and northern Wisconsin!
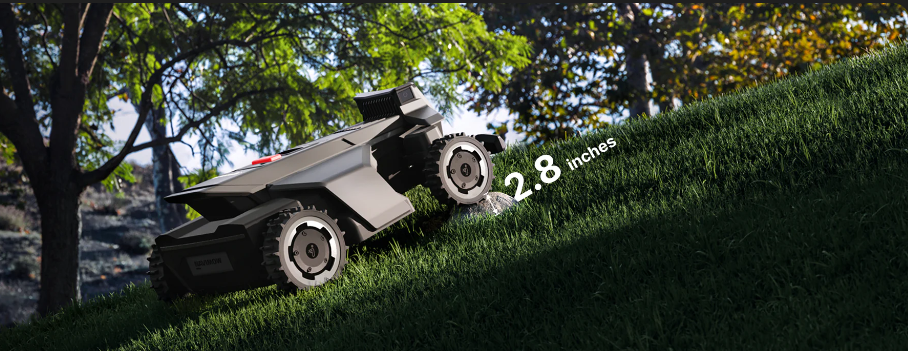
The Segway Navimow X4 Series: A Real Leap Forward in Robotic Mowing
The Navimow X4 is more than a mower. With true all-wheel drive, zero-turn steering, dual cutting motors, and a wire-free setup, it’s built for complex yards where other robots fall short. If you’ve been waiting for a smart mower that can replace a riding or zero-turn mower, this is it.
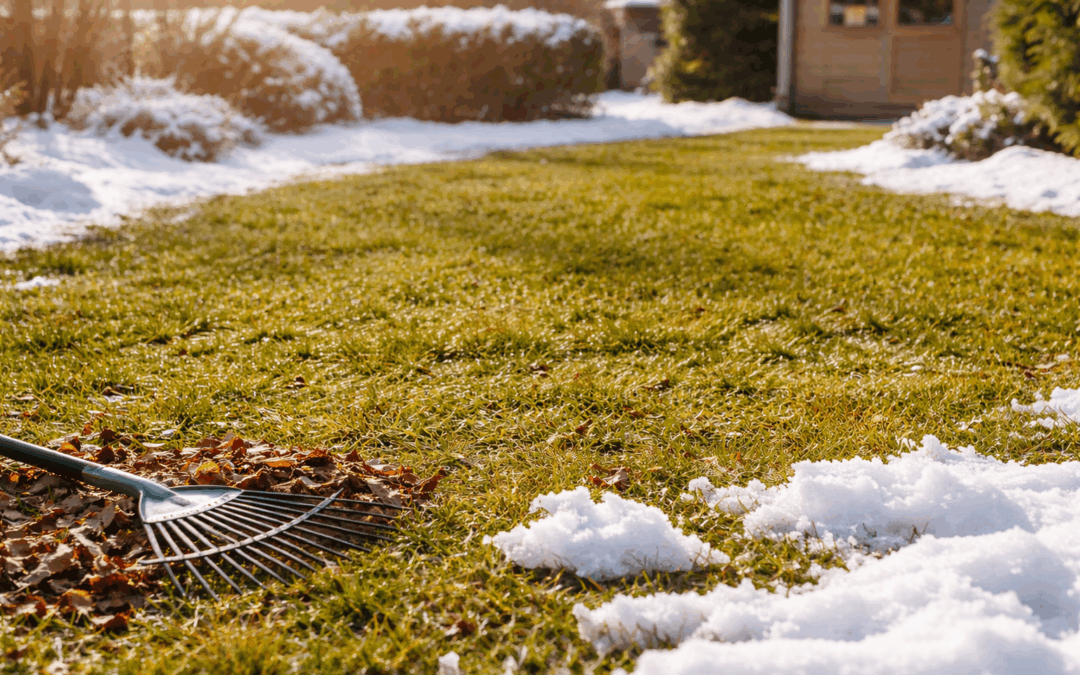
Winter Lawn Prep and Spring Comeback Plan
Winter lawn success starts before the snow falls. Learn how smart fall prep, minimal winter disturbance, and the right spring steps can help your lawn recover faster and grow thicker when warm weather returns.
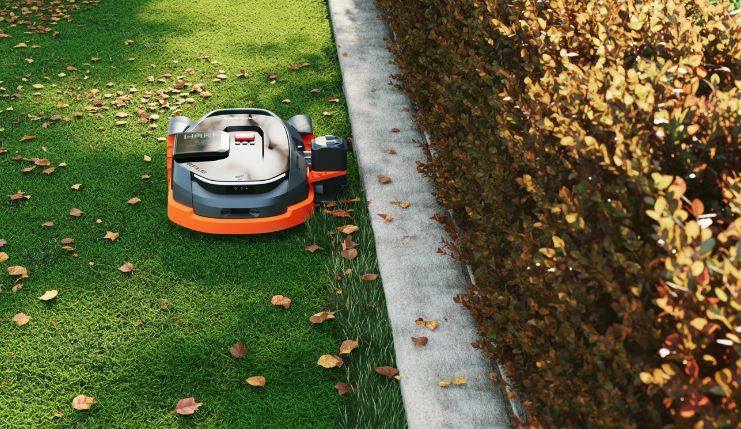
When to Stop Mowing in Fall: The Right Timing for a Healthy Lawn
Don't rely on the calendar. Watch your lawn for the real signs it's time to stop mowing. When Should You Stop Mowing This Fall? As fall settles in and temperatures begin to dip, you might wonder when it's time to stop mowing your lawn. The truth is, there's no...

Royal Lawns, Everyday Yards: Why Navimow Is the Choice from Castles to Cul-de-Sacs
Navimow is trusted by castles, estates, and stadiums across Europe. Discover how this robotic mower delivers professional results and why it’s perfect for your lawn too.
How to Maintain Your Segway Navimow: What You Need to Know
How to Maintain Your Segway Navimow: What You Need to Know By Ballard Power Works If you're considering a Segway Navimow, or already own one, the good news is that these robotic mowers are designed to be low-maintenance. But low-maintenance doesn’t mean no...